[amazon_link asins=’B001BE3UM4,B00EB0B900,B072DVS6MG,B005T8Y20W,048624721X,B0001DTWYG,B0000302YN,B001AQPMCO’ template=’ProductCarousel’ store=’spmesi-20′ marketplace=’US’ link_id=’214e34da-9e17-11e8-b1f4-71c3cac0f22a’]DIY ETCHED Bullet Jewellery
I have noticed bullet casing jewelry trending for awhile now. And I love it! It has a rustic, masculine feel. I also love etching metal with ferric chloride acid, something I have been doing for the last couple of years. Etching bullet casings seemed like the next logical step. I thought they would be a great gift for Dad (or Mom, depending on how you make them)! So round up your bullet casings and let me show you how to make these awesome necklaces!Supplies needed:
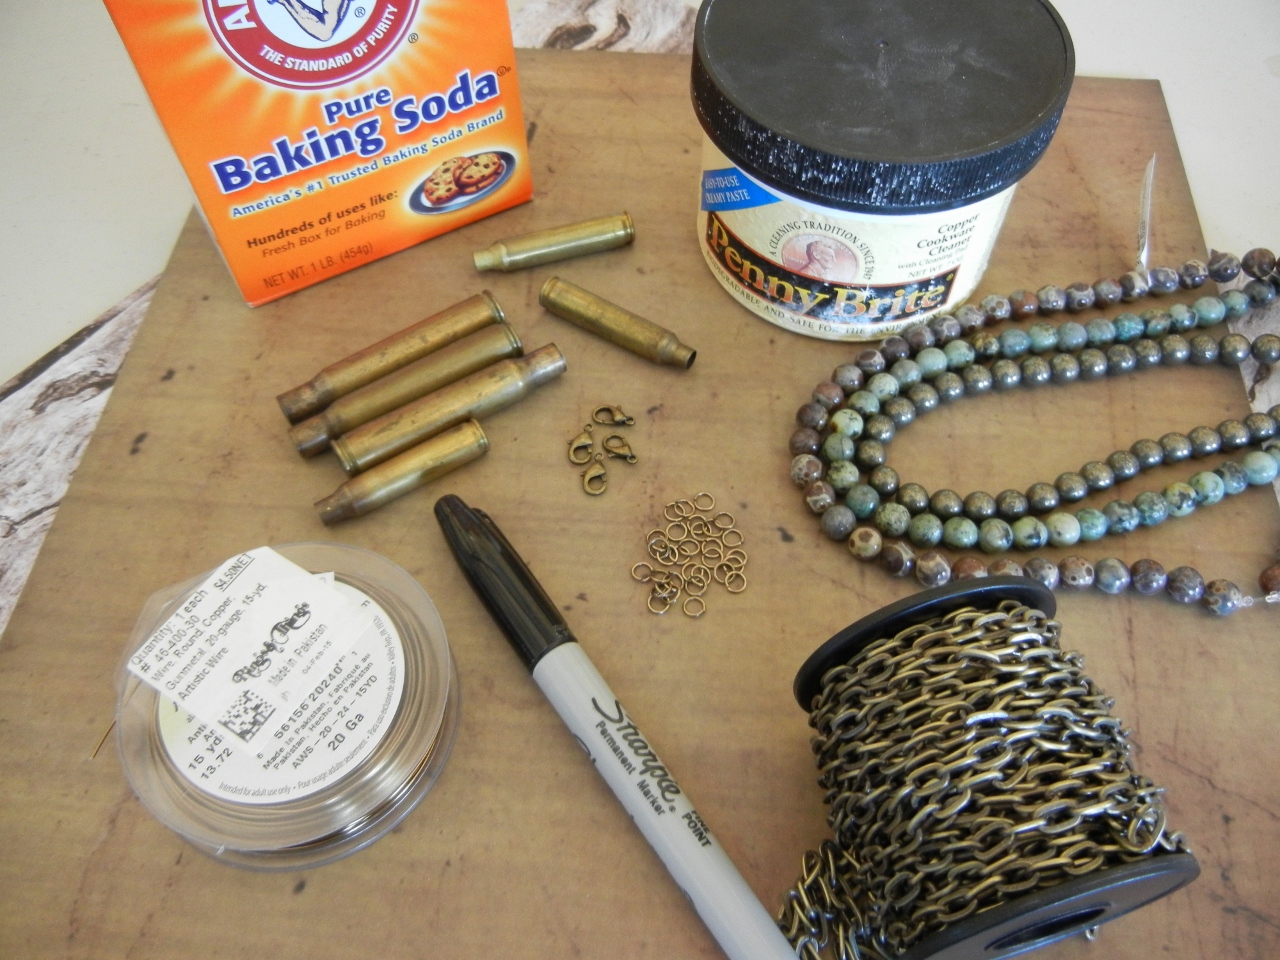
Bullet Casings (drilled with a hand drill on the ends to create a hole)Permanent MarkerBaking SodaScotch TapePlastic ContainerPenny Brite CleanerFerric Chloride AcidSanding PadsNovacan BlackBronze 20 Gauge Artistic WireAntique Brass Cable ChainAntique Brass Jump RingsAntique Brass Lobster Clasp8mm Gemstone Bead Tools:Basic Hand Tool Kit containing Chain Nose Pliers, Round Nose Pliers and Wire Cutters.If you’ve never etched metal with ferric chloride acid before, I highly recommend you read the two blogs linked here for techniques and safety before you get started:
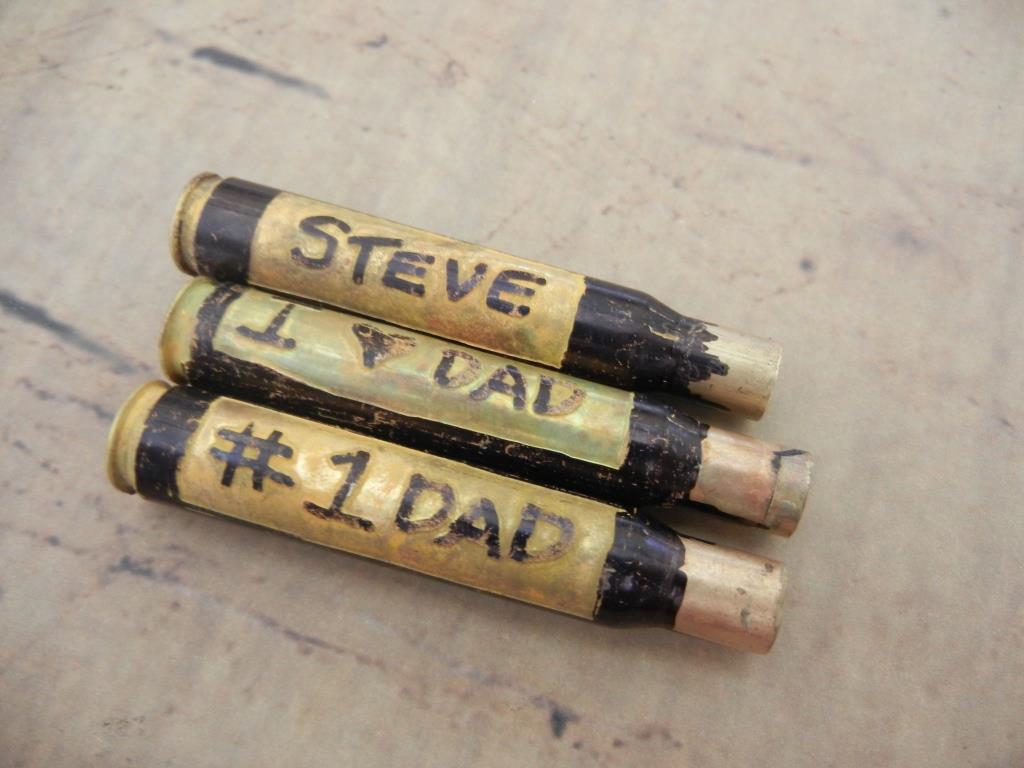
DIY Copper Etching TutorialSafety Considerations for Etching Metal with ChemicalsTo make these necklaces you need a few supplies! For a full list see above.Use the Penny Brite to clean the bullet casings. They will take off all the grime and any oils and make them look shiny and new!After you have used the Penny Brite on the bullet casings, they will be shiny like new. Try to touch them as little as possible with your fingers, as oil from your skin on the metal can affect the etching.Use a sharpie marker to add your own custom name or design to the bullet casings. This is a resistance technique, so anywhere there is ink, the metal will not etch.After you get the design you like, use scotch tape to seal the top of the bullet casings.
Wear gloves the entire time you’re working with the acid to protect your hands! Pour some ferric chloride acid into a disposable plastic container, and submerge your bullet casings into the ferric chloride bath. They will need to soak in the acid for about 20-30 minutes.Use gloves or plastic tongs to remove the bullet casings from the acid, and place them into another plastic container. Pour a fairly large amount of baking soda into the container and add warm water. The baking soda will bubble up and neutralize the residual acid on the bullets. The remaining acid can stay in the other container, just add a lid. It can be used several times to etch. When it has lost its etching power,
dispose of the acid at your local hazardous waste facility.The bullet casings look like this when they have been etched and cleaned of acid with baking soda.Use a sanding pad to remove the permanent marker from the bullets.Dip the bullet into the Novacan Black to antique the metal black.Now use the sanding pad to remove the patina. This will make the design really stand out.It can be a little messy to remove the patina!Make a wrapped loop with bronze-colored Artistic Wire using your round nose pliers.Use your chain nose pliers to smush the wire down so there is no sharp end.Insert the wrapped loop into the back hole on the bullet casing and thread it through to the other (top) hole.On the other end, add a gemstone bead and wrap the wire like you did on the other side
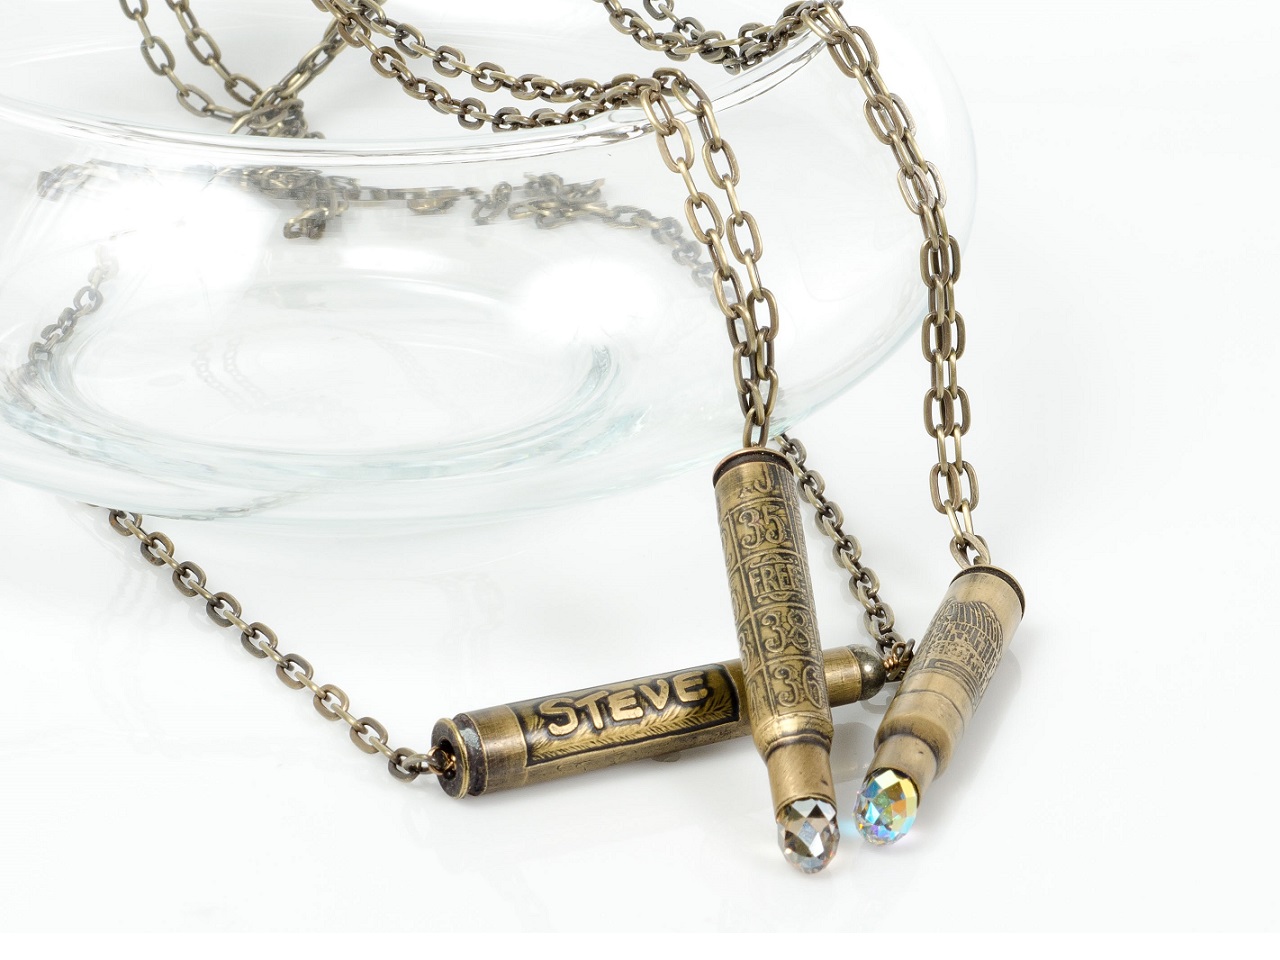
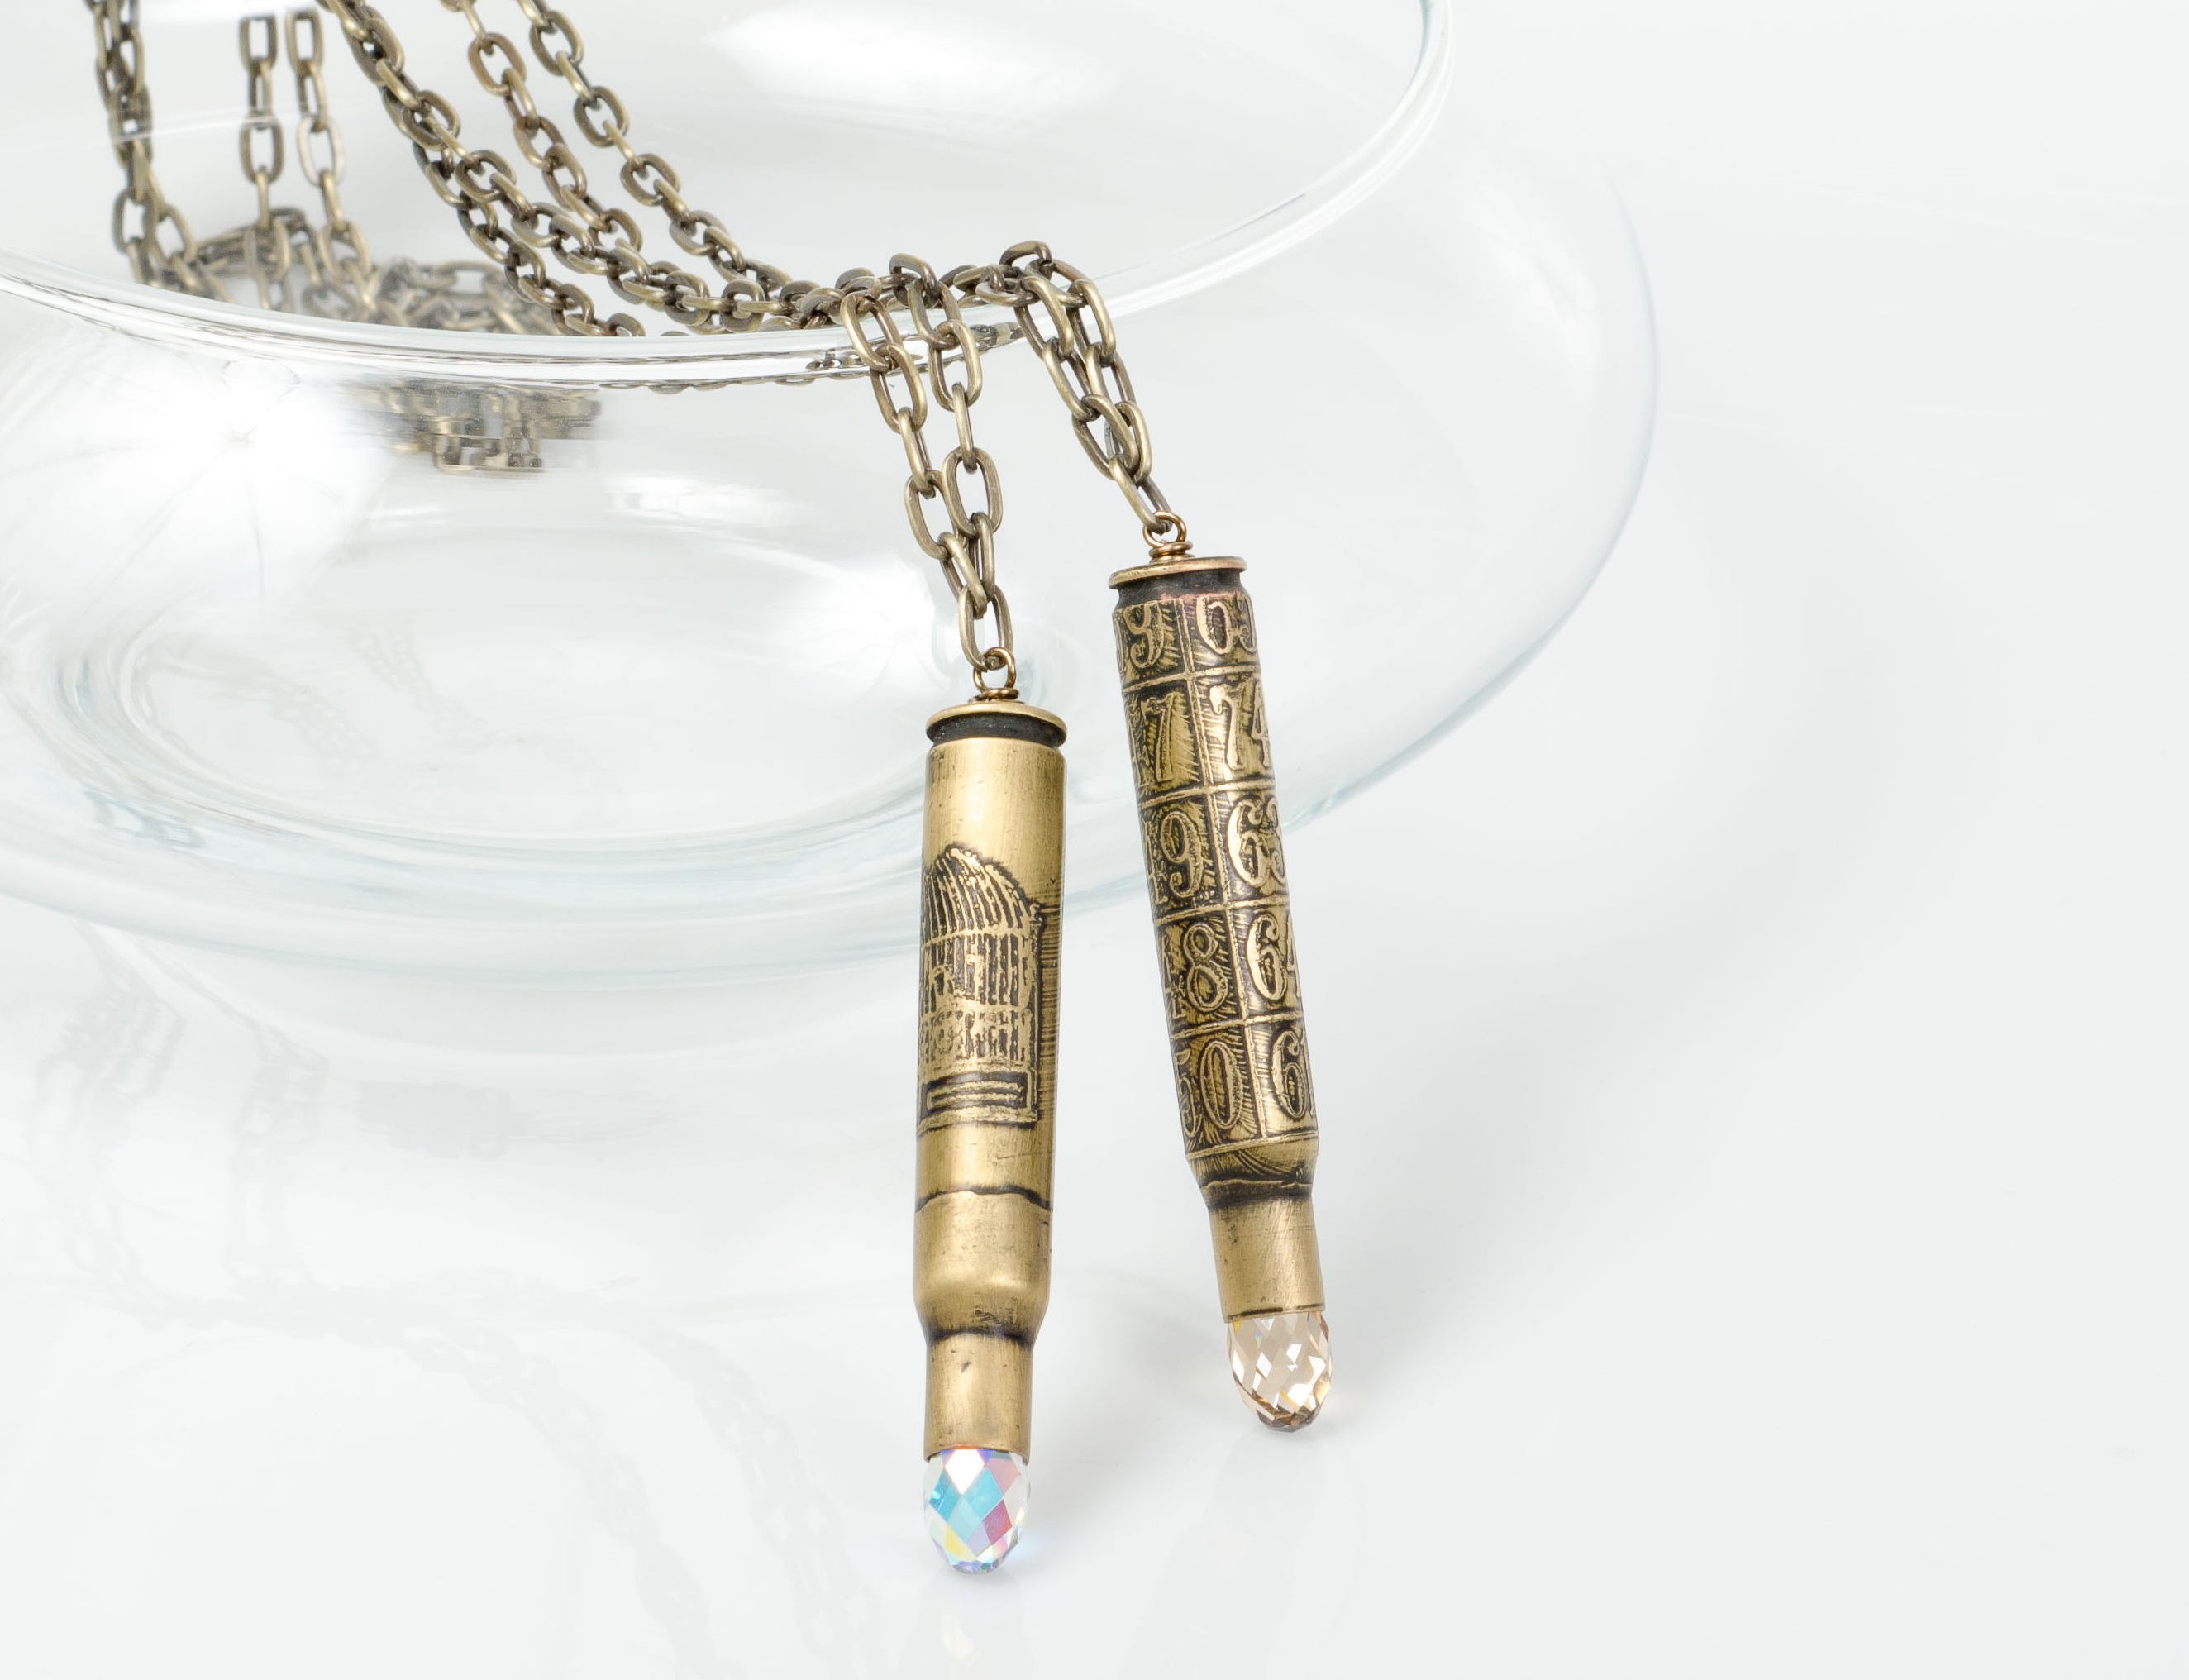
.Wrap the wire down to make a nice wrapped loop.Add chain to the sides to make a necklace! Gemstones from top to bottom are Birdseye Rhyolite, Pyrite, and African TurquoiseCompleted necklaces!“Man” Necklaces! Perfect for that hunter in your life! Or make a stamped, more feminine version for her!These etched bullet casing necklaces feature Swarovski crystals for extra sparkle! The 13mm Swarovski Briolette is perfect here!To make a stamped version the process is very similar. Instead of applying the image by hand, we will use rubber stamps and permanent ink. Follow the simple steps below to make this version.Clean the bullets with Penny Brite, as mentioned above. To
stamp the bullets, use large rubber stamps and permanent ink pads.Ink up the stamp well with the permanent ink pad. Then roll the bullet onto the stamp to transfer the image to the bullet casing.Use permanent marker to color where you don’t want the acid to etch.After you have colored where you want with the permanent marker, tape up the bottom and top with scotch tape like we did with the previous bullets.Remember to protect your hands with gloves while working with acid! Soak the bullet casings in the ferric chloride acid for approximately half and hour.Like before, pull the bullet
casings out of the acid, cover in baking soda, and rinse with warm water. Reserve the remaining acid for future etching.After you remove the bullets from the baking soda bath, repeat the same steps as listed above for etching bullet casings. Use a sanding pad to remove the sharpie, then antique the metal with Novacan Black. Use a sanding pad again to remove the patina.After you have the bullet casings etched, you can add Swarovski crystal


